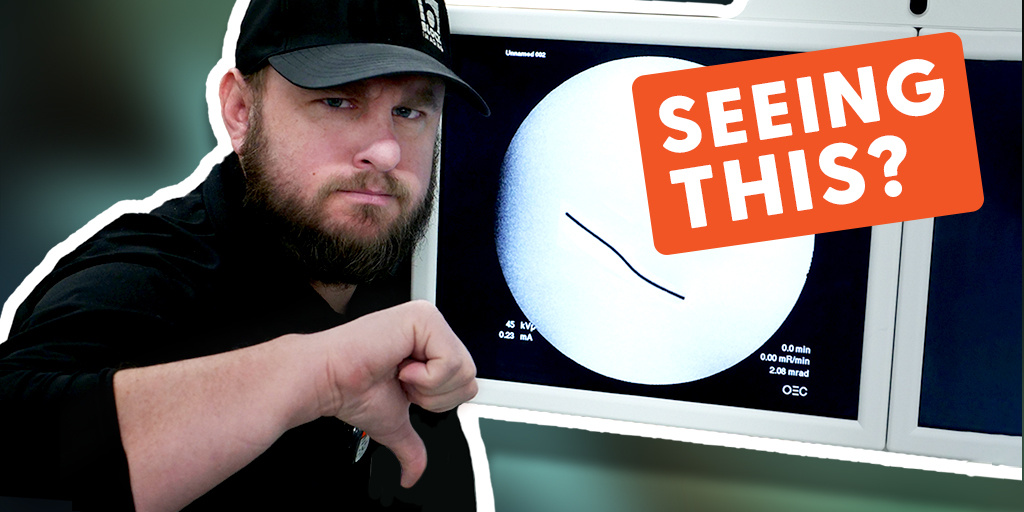
Lines, scratches, spots, and splatters - how do you get rid of unwanted artifacts in images on your OEC C-arm?
Artifacts in your C-arm image can be the result of several underlying issues. Most likely it's debris, but in some cases it could be pixellation on your monitor.
Whichever the case may be, we want to help you troubleshoot your C-arm image artifacts and learn the next step to take in eliminating them.
1. Where is the Artifact Coming From?
2. If It's Coming From The Anti-Scatter Grid Or Below
3. If The Artifact Is Coming From Above The Anti-Scatter Grid
4. Rare Cases: It Could Be The Monitor
NEED NEW C-ARM PARTS NOW?
We can have them shipped to you same day!
When you request a part, it goes immediately into our queue, where our service reps process those requests from 8am to 8pm EST. Once processed, we give the part and packaging a final inspection before shipping.

Where is the artifact coming from?
Physical artifacts caused by debris are typically specks or spots with rounded, blurred edges. They can also come in the form of streaks. Digital artifacts tend to be squarish- or pixellated- in appearance with clear edges.
To begin troubleshooting, take an image with nothing in the field of view at your workstation.
If you see an artifact, follow these steps to locate its source.
Move to the C-arm and take a few exposures, switching between the mag modes:
- If the artifact changes with magnification, it is coming from the anti-scatter grid or below.
- If the artifact remains constant, the issue is above the anti-scatter grid.
As you troubleshoot, you want to see a difference in the before and after when you take another exposure to confirm the issue.

If it's coming from the Anti-scatter grid or below
Inspect the cover and anti-scatter grid. A scratched or damaged cover can cause artifacts. In this example, a cover with a deep gouge was placed on the system, which resulted in a visible artifact.
Next, inspect the anti-scatter grid for scratches or gouges, as these can also appear in the image.
Another possible culprit is contrast fluid buildup. If contrast hardens, it essentially turns into concrete, creating splatter-like artifacts on the image. If contrast is suspected, clean the cover and anti-scatter grid thoroughly.
Step 1: Remove the Lower Cover for Further Inspection
If the artifact changes with magnification, it is coming from the lower portion of the system.
- Remove the lower cover .

- Take another exposure with the cover removed.
- If the artifact disappears, the cover was the issue.
Step 2. Check the Collimator for Debris
Many artifacts appear as a result of dirt or dust getting inside the system from the surrounding environment.
If the artifact remains after removing the lower cover, check inside the collimator:
- Shine a light inside to look for dust, dirt, or metal specks.
- Use a blower or Q-tips to remove any debris.
- Take another exposure to verify if the artifact remains.
If the artifact is still present, remove the collimator and inspect the:
- Underside of the collimator for dust buildup.
- Primary collimator (mounted on the X-ray tube).

- Porthole on the tube itself, cleaning away any dirt, dust, or paint.
If the Artifact Is Coming from above the Anti-scatter grid
If the artifact is not coming from the bottom portion of the C-arm, check the top section near the Image Intensifier (II).
Image Intensifier Lifespan and Signs of Failure
Over time, the phosphor lining inside an II can break down and flake off. While "phosphor flakes" might sound like the name of a delicious, sugar-coated breakfast cereal, the artifacts they cause indicate the need for a pretty serious parts replacement.
- Remove the top cover of the II (screws must be removed first).

- Disconnect all necessary connections.

- Loosen the hose clamp securing the protective camera can.
- Inspect and clean the lenses on both the camera and the II

- Reassemble the components and take another exposure.
If the artifact disappears, the issue was debris on the lenses. If it remains, it is likely inside the II or camera, requiring replacement.
Rare Cases: It Could be the Monitor
In rare cases, the artifact may not be caused by the C-arm itself but rather the monitor. A broken or bad connection, or outright failure, among the parts in the image processing chain can cause digital artifacts (pixellation) to appear.
- If the system has a flat-screen upgrade, check for dead pixels on the monitor.
- Dead pixels are uncommon, but they can appear as persistent spots in the same place on every image.
By following these steps, you can systematically diagnose and eliminate image artifacts on an OEC C-arm. If the artifact remains after these checks, it may require part replacement—contact Block Imaging for further assistance.