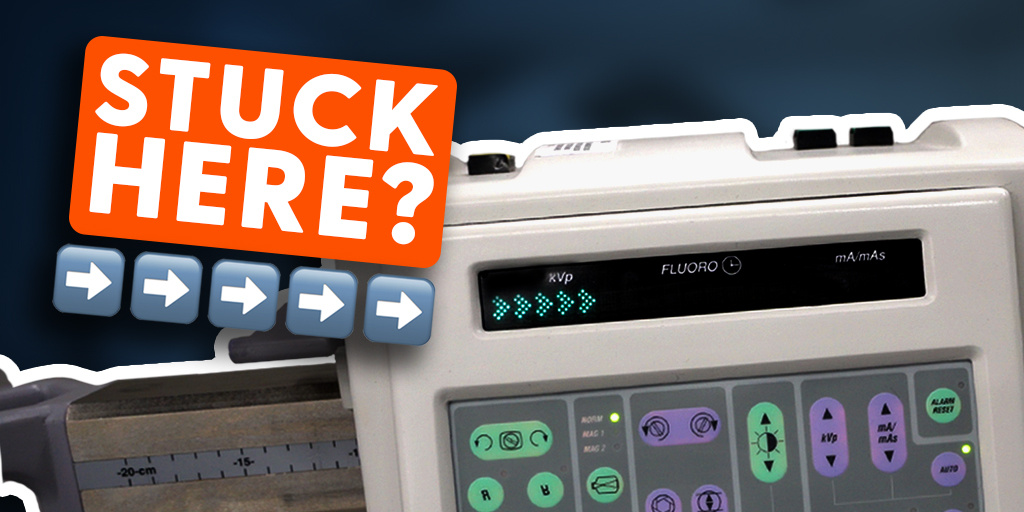
If your system is stuck and fails to boot past the "Five Arrows" screen, there’s a high chance the culprit is something surprisingly simple: the coin cell battery on your SBC (Single Board Computer). Luckily, this is an easy and inexpensive fix. Here's how to get your system up and running again.
Replace the Coin Cell Battery
Start by heading to the workstation. Remove the back panel and then open the access panel.

Inside, locate the Single Board Computer—it’s the third board in from the left. You’ll find the coin cell battery mounted there. Replace it with a standard battery (they’re inexpensive and can be found at most stores).

Once the battery is swapped out, you’ll need to enter the BIOS and reset it.
RESET THE BIOS SYSTEM
Connect Your Service Monitor and Keyboard
With the back panel already removed, look along the side of the SBC where you'll see a VGA connector and a DIN-5 port for the keyboard.

Plug in your service monitor and service keyboard using these ports. Once they’re connected, power on the workstation.

Enter the BIOS Menu
As soon as the system begins to boot, hold down the Delete key on the keyboard.

This will bring you into the BIOS setup screen. Use the arrow keys to navigate to the right and select Load Optimized Defaults.

Press Enter, then Y, then Enter again to confirm.
Update BIOS Settings
Navigate to the Standard CMOS Features menu in the top-left corner.

Once inside, check and update the date, time, and IDE Primary Master.

Be sure to enter the correct current date and time. For the IDE Primary Master, you want to see that something is registered—that confirms the system is properly communicating with the hard drive.
Enable the Onboard LAN Controller
Once those settings are updated, press Escape, scroll down to Integrated Peripherals, and press Enter.

Inside this menu, scroll down until you find the Onboard LAN Controller. Make sure it’s set to Enabled.

This setting controls the Ethernet port on the SBC, which is necessary for DICOM to function correctly.
Save and Exit BIOS
After confirming that the onboard LAN is enabled, hit Escape, then press F10, then Y, and finally Enter to save all your changes.

Verify Successful Boot
Your system should now fully boot up. You should land on the patient information screen, confirming that the workstation is back up and running as expected.

A failure to boot past the Five Arrows screen can often look intimidating, but in many cases, it’s simply a dead coin cell battery on the SBC. With a quick battery replacement and a BIOS reset, you can be back to work in no time. If you continue to run into issues, don’t hesitate to reach out to us at blockimaging.com.