November 27, 2024 : 2 min read
How to Replace Coin Cell Batteries in OEC 9900 SBCs
Proper maintenance often includes small but essential tasks like replacing coin cell batteries that end up playing a crucial role in keeping your OEC 9900 running well. Whether you're a master technician or figuring this out for the first time, this tutorial will cover what you need to know about replacing these batteries.
How to Access and Change the Batteries
- Remove the Back Panel
- Open the Access Panel
- Identify Single Board Computers
- Replacing Coin Cell Batteries
NEED NEW OEC PARTS NOW?
We can have them shipped to you same day!
When you request a part, it goes immediately into our queue, where our service reps process those requests from 8am to 8pm EST. Once processed, we give the part and packaging a final inspection before shipping.
How to Access and change the Batteries
1. Remove the Back Panel
Start by removing the back panel on the workstation. There are eight screws holding it in place. Unscrew them, flex the top of the panel out slightly, and pull it off to reveal the access panel inside.

2. Open the Access Panel
Once the back panel is removed, locate the access panel inside the workstation. It is secured with quarter-turn screws. Turn them to open the panel and expose the workstation’s interior.

3. Identify the Single-Board Computers
Inside the workstation, you will find two single-board computers (SBCs):
- The GPOS (General-Purpose Operating System) board on the right.

- The RTOS (Real-Time Operating System) board on the left.

Both of these boards have coin cell batteries located approximately in the center of each board. Before proceeding, unplug the AC power from the wall for safety.
4. Replace the Coin Cell Batteries
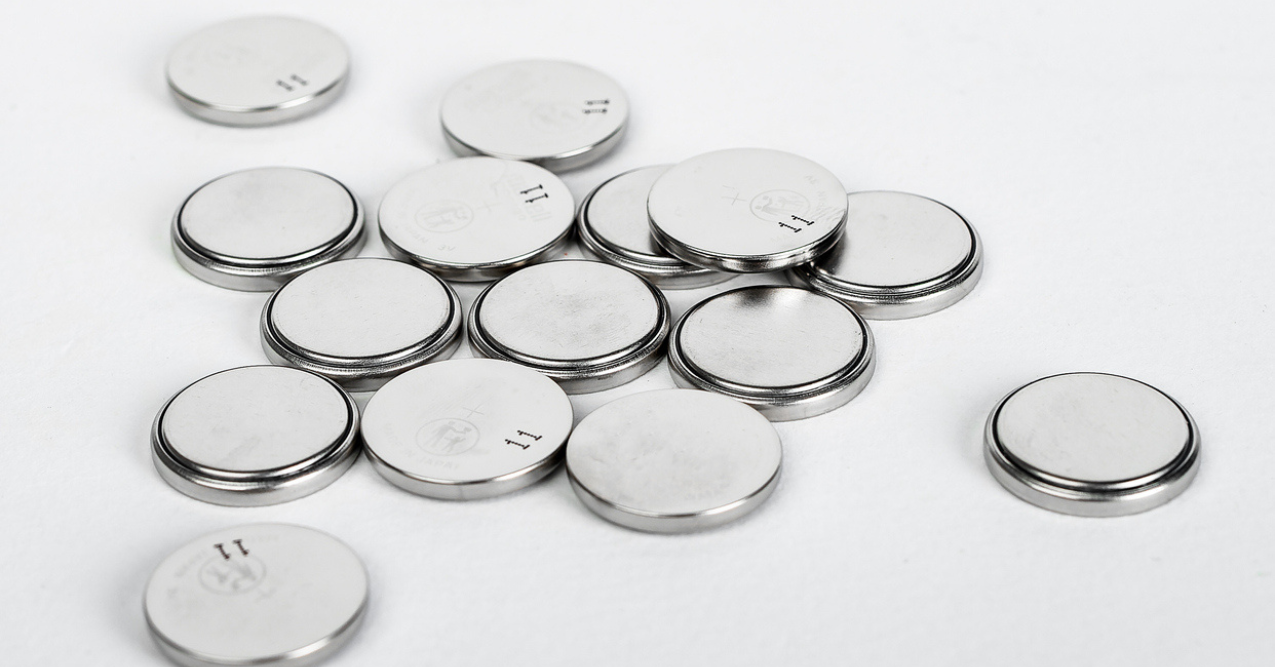
Carefully remove and replace the coin cell batteries on both SBCs. Make sure they are seated securely in their holders.
Note: These are CR2032 batteries and can be bought at any store that sells basic batteries.
Service Mode Changes
1. How to Enable Service Mode
Locate the small silver dip switch on the display adapter at the bottom of the workstation. Flip this switch up to enable service mode. Once the switch is flipped, the native keyboard becomes the service keyboard for the GPOS board. The RH native monitor is the monitor for the GPOS and the LH native monitor is for the RTOS board. You should only need to check the BIOS settings on the GPOS. Then, plug the workstation back into power and turn it on.

2. How to Access the BIOS
As the system boots, hold down the Delete key on the keyboard to enter the BIOS menu (this is likely an AMI BIOS system).

Once you're inside the BIOS, navigate to Load Optimized Defaults and select it.

Go to Standard CMOS Features to verify and adjust the date and time if necessary. Use the Page Up button to correct the date.
3. Save and Exit the BIOS
After verifying the settings:
- Press Escape to exit the menu.
- Press F10 to save the changes.
- Confirm by selecting Yes and pressing Enter.
The system will reboot with the updated settings.
4. Disable Service Mode
Once the system has rebooted and is fully operational, flip the dip switch on the display adapter back to its original position to disable service mode. This will restore normal boot-up screens.

5. Confirm System Operation
Verify that the workstation is fully booted and operational. At this point, the coin cell batteries in both SBCs have been successfully replaced.

NEED HELP WITH SERVICE?
If your team doesn't have an in-house biomed or clinical engineer, our service team is ready to dispatch qualified personnel to install your batteries or see to any other service needs you have.
Contact Us

Matt Lenart
Matt Lenart is a C-Arm Engineer at Block Imaging. Matt travels to customer sites to perform preventative maintenance, repairs, and troubleshoot C-Arm equipment issues. When he’s not turning the wrench Matt can be found spending time with his family, enjoying a craft beer, and cheering on THE Ohio State football team.


