October 27, 2020 : 2 min read
Mammography System Removal: How to Prepare, What to Expect
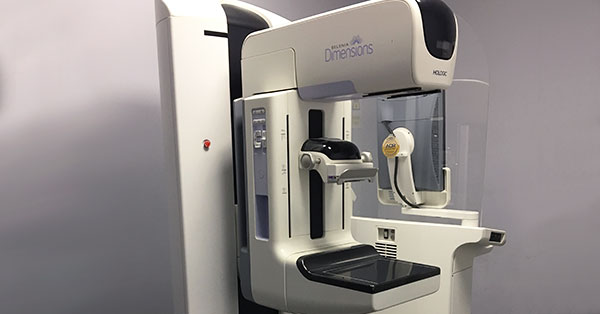
So, you’ve decided it's time to sell your mammography system. You’ve found a buyer for the equipment and a vendor to uninstall and remove it; now what? There is a series of steps that should be taken to save time, frustration, and money as the day approaches for this system to find a new home.
Below, we'll describe how mammo evaluation and removal are handled by Block Imaging. Specific procedures may differ from vendor to vendor but, in all our years, we've found each of the points addressed here to be a best practice for an efficient inspection and a smooth removal.
Mammo Deinstallation Process
Before Inspection and Removal
Ensure the room is clear of anything that is not part of the mammo system. This step might seem like a given, but our technicians have run into issues with it before- especially if the unit has not been in use for a while, leaving the opportunity for the room to become an office "catch-all".
Collect all phantoms, pads, accessory carts, manuals, and software and put them in the same place. This will save time as the technicians will not have to search for these items. It will also help make certain that your buyer will be receiving everything that they are expecting to.
Schedule an electrician to be available to disconnect the system from power on the day of the removal. While the power will need to be on for the removal technicians to test the unit's functionality and position it for safe transport, after the inspection is completed, it needs to be disconnected safely by a professional.
If your site has particular needs, such as loading before/after a certain time, or day(s) that work better, please let your vendor know so that they can do their best to accommodate. A removal team typically arrives first thing in the morning to begin evaluation and will most likely be ready to load the unit onto the truck in the mid-afternoon.
The Day Of
On the day of the removal, here are a few things to keep in mind that help. The goal of these preparations is to perform the removal with as little impact as possible on your team’s ability to care for patients.
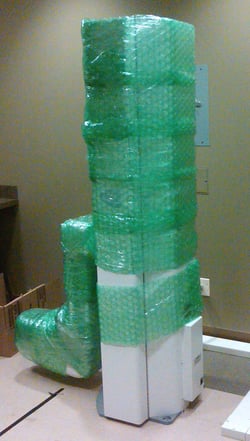 When the techs arrive, they perform a visual evaluation of the system, test it for functionality, test its calibration, and take inventory of accessories. The inspection process typically takes less than an hour for analog systems and up to two hours for digital systems.
After inspection, the techs reach out to their project manager to discuss their findings. If the system checks out, payment arrangements are made, and removal begins. This is when your electrician is needed to remove the system from facility power and lock out the breaker panel.
The techs disconnect and remove the remaining cables between system components, pack up accessories, remove the detector (for digital units), and prepare components for shipment. This process takes a few hours and can be completed with the door closed and minimal noise/disturbance to your patients and staff.
The technicians then move the system components out of the room and to the truck.
The Takeaway
The specifics of your removal situation may vary, but completing preparation beforehand and knowing what to expect on the day of your mammography machine removal will help the process move efficiently, without costly delays.
Whether you're in the process of selling your mammo or searching the preowned/refurbished market for your next solution, we have experts ready to help at each step of the way. Contact us with your questions or check out our other free resources for more information.

Jason Block
Jason Block is the Product Manager for Women’s Health Equipment at Block Imaging. Jason loves to help, challenge, and empower people as they make decisions about their medical imaging equipment. When he's not assisting healthcare facilities with their imaging needs, Jason enjoys spending time with his family, coaching multiple sports, and watching the Michigan State Spartans.


