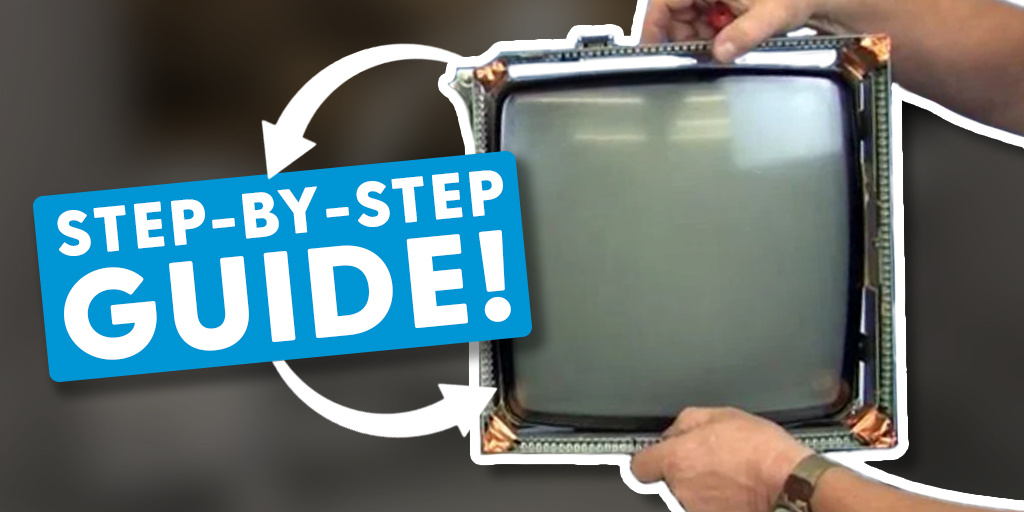
In this guide, we’ll walk you through replacing the touch screen assembly on an OEC 9800.
Common issues with touch screens include malfunctioning LEDs, broken connections, or areas of the screen that fail to detect touch.
The touchscreen isn’t a typical touch-sensitive panel. It’s made of infrared LEDs and photo transistors that detect finger positioning on the glass and send this data to the interface board.
Follow these detailed instructions to ensure a smooth and successful process. Let’s get started!
Removing the Hood, keyboard, and front panel
1. Remove the Monitor Hood
Start by removing the hood on the monitor. Unscrew the two screws located at the top, then grab the hood and pull it straight off.

2. Remove the Keyboard
Underneath the keyboard, there are six screws. Unscrew them and pull the keyboard straight out. On the backside, disconnect the ground cable and the two ribbon connectors.

3. Remove the Front Panel
To remove the front panel:
- Unscrew the two flip screws, one on each side.

- Disconnect the X-ray illumination light by removing the white (positive) and black wires. The positive side is marked on the light itself.

- Unhook the ambient light sensor.

- Remove the series of screws around the panel.
While pulling the front panel off, reach between the panel and the monitor to disconnect the on/off switch. Once fully removed, the touchscreen will be visible.
Removing the Touchscreen
Disconnect the single connector at the top of the touchscreen.

The touchscreen is secured with two easily accessible screws on one side and two harder-to-reach screws on the inside.
We can't access those inside screws without moving the monitor forward and we can't move the monitor forward without removing the power supply covers.
1. Remove the power supply covers
First you want to remove the 2 screws on the side of the power supply covers.

Once you pull the cover off, you can see where the screws for the monitor are located.

2. Remove the center bracket and unscrew the monitor screws
For the monitor, we have two screws on one side and two screws on the other side. One of them is way on the inside and hard to reach. So what I usually do is take this center bracket off and get it out of the way.

I use a ratchet with a Torx bit.

3. Move the Monitor Forward
Unplug the power cord from the monitor (leave the video cord connected, as it’s long enough to stay attached).

Slide the monitor forward to access the screws on both the inside and outside of the touchscreen.

Once accessible, remove the touchscreen assembly.

The Reinstallation Process
1. Reinstall the Touch Screen Assembly
To reinstall the new touchscreen:
- Ensure the tabs align on the inside of the frame.
- Slide the monitor back into place and secure it with two screws on the inside and two screws on the outside.
- Reconnect the power supply and replace the power supply cover. Align the three notches with their slots.
2. Reassemble the Front Panel
Reinstall the center bracket beneath the front frame and secure it with the two screws (top and bottom). Route all wires back into their plastic holders and reconnect them to the touchscreen. Don’t forget to reconnect the on/off switch.
3. Reassemble the Components
- Reinstall the screws around the front panel.
- Reconnect the X-ray illumination, ensuring the white wire is connected to the positive side.
- Reattach the ambient sensor with two Phillips screws.
- Reconnect the keyboard’s ground wire and two ribbon connectors (snap them into place).
- Reinstall the screws along the bottom of the keyboard.
4. Reinstall the Monitor Hood
Push the rear hood back into place. Secure it with the two screws on top.
And that's how you replace your touchscreen replacement on your OEC 9800!

Gary Strpko
Hello, I'm Gary and I joined Block Imaging in 2014. My goal is to ensure that every C-arm that passes through Block’s refurbishment program is functional to its original manufacturer’s performance standards and ready to serve patients from the day it arrives at its new home. I like the fact that I can use both my mind and my hands in my work, and it’s very rewarding to know that when I fix up a system it will be put to good use. The fact that C-arms have both mechanical and electrical systems to work on is the best of both worlds! The more challenging the system is to fix, the better I like it. Outside of work I enjoy spending time with my wife, kids, and poker.


