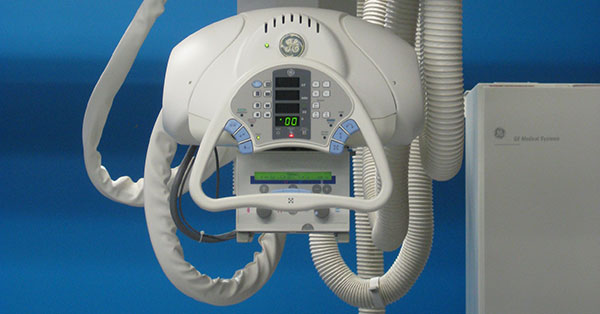
Refurbished versus refurb-ish... Sometimes, what one imaging equipment vendor calls a “refurbished” X-ray system is not quite the same as what the next vendor calls a “refurbished" X-ray system. We know the ambiguity of the “R word” can be frustrating when you’re shopping around for your next equipment purchase, so we wanted to take the next few paragraphs to be absolutely clear about how we handle X-ray refurbishment.
Block Imaging's refurbishment process for x-ray equipment
Table:
The table is disassembled. Parts are inspected, cleaned, and moved to our custom paint booth for refinishing with OEM-matched paint products. After the refinishing process, the table is taken to one of our staging bays. This is where the reassembly process begins. Bearings, cables, and connectors are inspected for wear and replaced as needed. When reassembly is complete, the table is thoroughly tested for operation per OEM specifications.
X-Ray Tube Assembly:
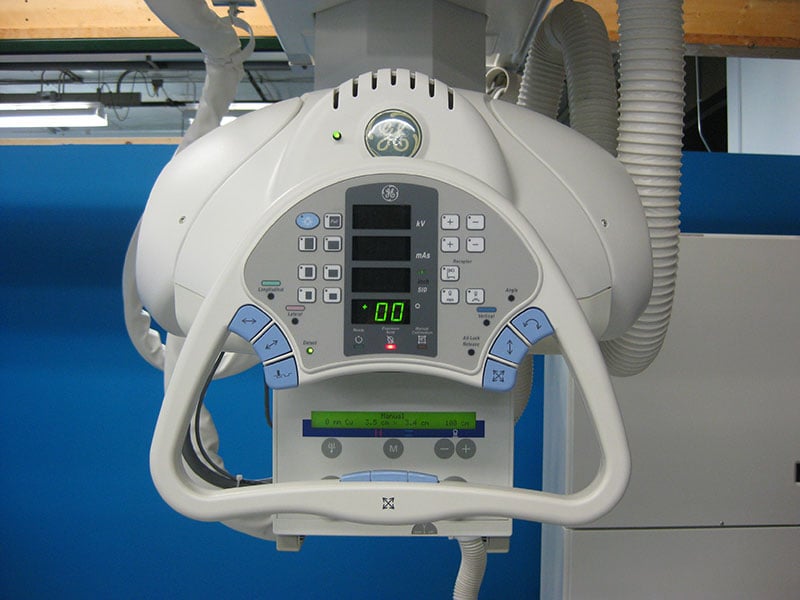
Whether the X-ray tube for a given system is mounted on the ceiling, a free-standing column, or onto the table itself, the process is the same for this portion of the machine. The external pieces of the support system are removed, cleaned, inspected, and replaced as needed. These pieces are taken to the paint booth for refinishing. The internal moving parts are cleaned thoroughly and exercised through their full range to check for hang-ups , grinding, or sticking. The collimator and X-ray control console are inspected and knobs, keypads, and graphic overlays are replaced as needed. After the refinishing process, these components are reassembled in the staging bay. Again, all mechanical and electrical parts are inspected and replaced as needed. After these components are back together, the entire tube assembly is tested to OEM specification.
Chest Stand:
The steps for this portion of each machine are much like those for the table and the tube assembly: disassemble, inspect, clean, refinish, reassemble, replace parts as needed, test to OEM specification.
DICOM
DICOM functions are tested on our internal network to confirm functionality.
System Cabinets:
The process for the covers and frames of these cabinets follows the template for table, tube assembly, and chest. Once the frame is refinished, the cabinet joins the rest of the machine in the staging bay to have its internal electronics inspected and replaced as needed. Afterward, the cabinet is connected to the other major components and the main power supply. The complete system is powered up and all electrical systems are thoroughly tested for proper operation. All calibration and OEM settings are performed at this time.
Final Testing: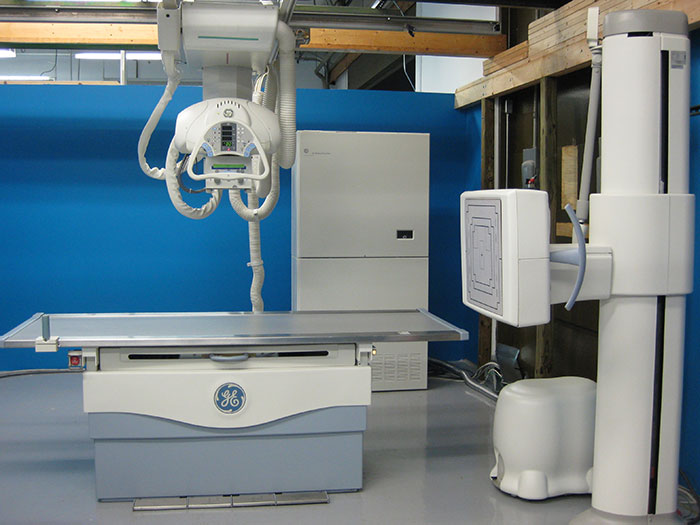
Now, the total system is ready to be thoroughly tested and adjusted. In the case of a digital system, particular care is taken in testing the detector for bad pixels or image artifacts. After all procedures are complete, the room is ready for a customer to preview in our facility. The system is then disassembled and shipped to its destination for installation.
As we’ve said before, quality imaging equipment refurbishment happens with thoroughness and product expertise. We work through X-ray systems component-by-component inspecting, cleaning, replacing, and reassembling to ensure our customers get outstanding systems that function as well as new ones at significantly lower costs.
If your needs have you leaning toward digital X-ray, download our free digital conversion guide. We’ll connect you right away with options and pricing based on your specific x-ray room requirements.


Clay Selby
Hello, I'm Clay, and I joined Block Imaging in 2021. I enjoy learning something new everyday about our industry and our customers. Block has an incredible work environment that fosters innovation and allows us to create unique solutions for our customers. Outside of work I love playing and watching sports, collect watches and drink craft coffee.


